Homeowner’s Guide to Filing a Roofing Insurance Claim

If your roof has been damaged by hail, wind, or a storm, you’re likely wondering: What’s next? The insurance claim process can be confusing, and many homeowners don’t know where to start. That’s why we’ve put together this step-by-step guide to help you understand how to file a claim, what to expect, and how to ensure you get the coverage you deserve.


How Long Do I Have to File a Roofing Insurance Claim?

Most homeowners insurance policies allow up to one year to file a claim for storm damage. However, some policies may have shorter deadlines (as little as six months) depending on your provider. It’s crucial to check your policy and act quickly—waiting too long could result in a denied claim.

Why File ASAP?

  • Damage gets worse over time. A minor leak today can turn into costly interior damage.
  • Insurance companies may question delayed claims. If you wait too long, they might argue the damage was due to neglect rather than the storm.
  • Storms don’t leave permanent records. The longer you wait, the harder it is to prove that a storm caused the damage.

What You Need to File a Roof Insurance Claim

Before you call your insurance company, make sure you have:

A Professional Roof Inspection – Your insurance adjuster will inspect the damage, but having a professional roofing contractor’s assessment ensures that nothing is overlooked.
Date of Damage – Insurance companies will ask when the damage occurred. A storm history report (which we can help provide) can verify this.
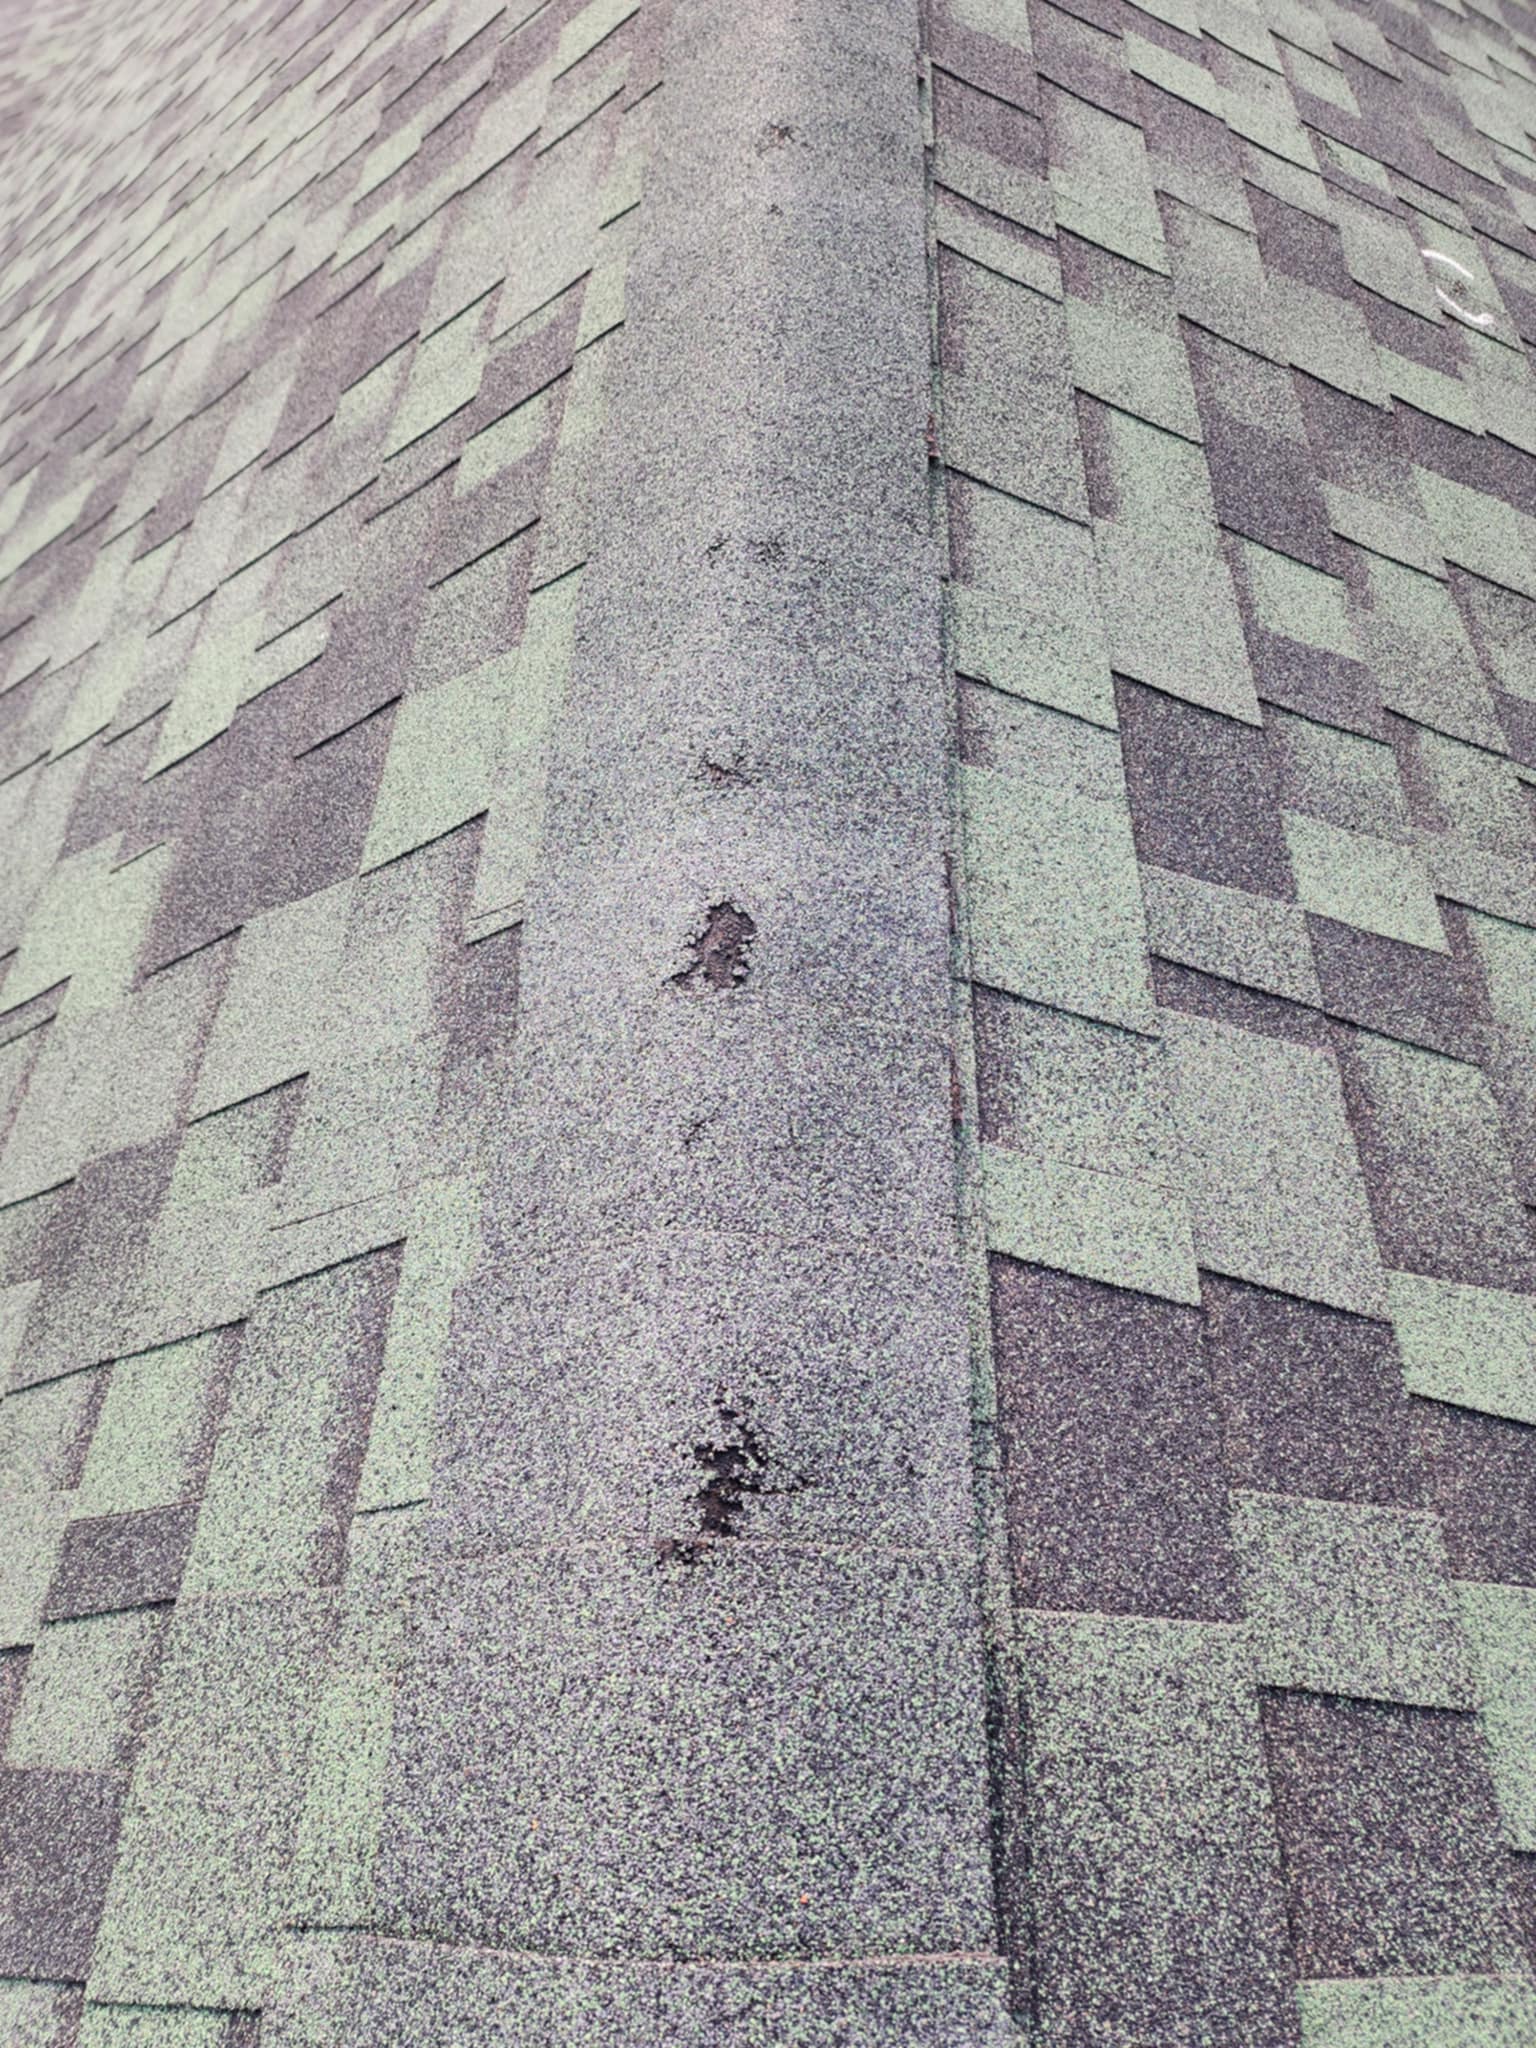
Photo Evidence – Take clear pictures of the damage, both close-up and from a distance. If possible, include “before” photos to compare.
Insurance Policy Details – Know what your policy covers, your deductible, and whether you have Replacement Cost Value (RCV) or Actual Cash Value (ACV) coverage.


Step-by-Step Process for Filing a Roofing Insurance Claim

Step 1: Get a Professional Roof Inspection

Your first call should be to a trusted local roofing company (like us! 😉) to assess the damage. A professional roofer will provide a detailed report and guide you through the claims process.

Step 2: Contact Your Insurance Company

Call your provider and report the damage. Be prepared to:
📞 Provide the date of the storm
📸 Submit photos and documentation
📑 Request an adjuster appointment

Step 3: Insurance Adjuster Inspection

Your insurance company will send an adjuster to inspect your roof. Having your roofing contractor present ensures that all damage is documented correctly.

Step 4: Claim Approval & Settlement

Once the adjuster submits their report, you’ll receive an approval or denial. If approved, you’ll get a claim settlement outlining what they’ll cover.

Step 5: Roof Repair or Replacement Begins

After receiving your insurance payout, your roofing contractor will begin work. If you have RCV coverage, you may receive a second check after the work is completed.

Step 6: Final Inspection & Payment

Once the job is done, we’ll complete a final walkthrough to ensure everything meets our quality standards. Then, you submit proof of completion to your insurance provider to finalize any remaining payments.


What If My Claim Is Denied?

If your claim is denied, don’t panic! You have options:
🚨 Request a reinspection – If you believe the adjuster missed something, you can ask for a second opinion.
🔍 Hire a public adjuster – A third-party adjuster can review your case and negotiate with your insurance company.
🏗️ Explore financing options – If insurance won’t cover the cost, we offer affordable financing plans to get your roof fixed ASAP.


We’re Here to Help! Call for a Free Inspection Today

Navigating insurance claims can be overwhelming, but you don’t have to do it alone. At Texas Roofing & Home Improvements, we’re insurance claim experts who fight to ensure homeowners get the coverage they deserve.

📞 Call us today at 210-379-1307
📩 Message us on Facebook
💻 Visit wearetexasroofing.com

Let’s get your roof back in top shape—the right way! ✅🏡💪

How to Assess Roof Damage After a Fire

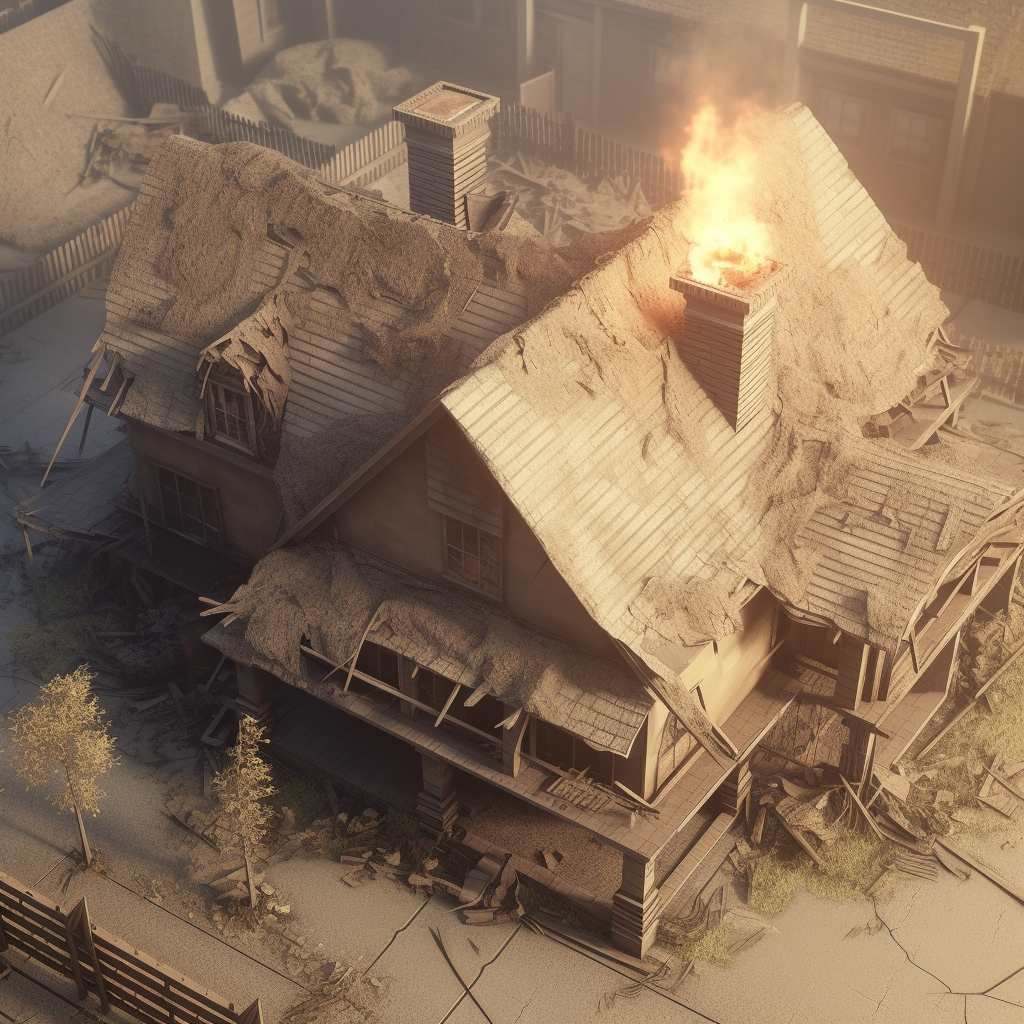
When a fire breaks out, the first thing you should do is contact the fire department. Once the fire is under control, you can begin assessing the fire damage. The extent of the damage will depend on several factors, such as the intensity of the fire, the materials used in the construction of your roof, and the time it took to extinguish the fire.

Here are the steps to follow when assessing your roof after a fire:

  1. Inspect the Exterior of Your Roof

Start by inspecting the exterior of your roof. Look for signs of damage, such as melted or missing shingles, warped or buckled roofing materials, or damage to the chimney or vents. Check for signs of water damage, as the water used to extinguish the fire may have penetrated your roof and caused additional damage.

  1. Inspect the Interior of Your Roof

Next, inspect the interior of your roof. Look for signs of damage, such as charred or blackened rafters or insulation. Check for signs of water damage, as water may have seeped through the roof and caused additional damage.

  1. Call a Professional Roofer

After assessing the damage to your roof, you should call a professional roofer to conduct a more thorough inspection. A roofer, like Texas Roofing & Home Improvements, can identify any hidden damage and provide you with an estimate for repairs or replacement.

  1. Contact Your Insurance Company

If you have homeowners insurance, contact your insurance company to file a claim for the damage. Provide them with a detailed description of the damage and any estimates you have received from professional roofers.

  1. Repair or Replace Your Roof

Once you have received an estimate from a professional roofer and your insurance company has approved your claim, you can begin the process of repairing or replacing your roof. Work with a reputable roofer, like Texas Roofing & Home Improvements, to ensure that the job is done correctly and to avoid future problems.

In conclusion, assessing roof fire damage is crucial after a fire. By following these steps, you can identify any damage to your roof and take steps to repair or replace it as necessary. Texas Roofing has been fighting to get you the most from your insurance for three generations, please contact us today so we can begin the fight for you.

The Importance of Roof Ventilation: What You Need to Know

Roof ventilation is an essential component of any roofing system, yet it is often overlooked or misunderstood by homeowners. Proper roof ventilation plays a critical role in maintaining the health of your roof and your home. In this blog post, we’ll explore the importance of roof ventilation and what you need to know to ensure your roofing system is properly ventilated.

Why Is Roof Ventilation Important?

Roof ventilation is essential for several reasons. Firstly, it helps regulate the temperature in your attic space. During hot summer months, temperatures in an unventilated attic can reach well over 100 degrees Fahrenheit. This excessive heat buildup can transfer to your living spaces, making your home uncomfortable and driving up your energy bills.

Secondly, proper ventilation helps prevent moisture buildup in your attic. Moisture can be introduced to your attic space in several ways, such as from everyday activities like cooking and showering or from outside sources like rain or snow. Without adequate ventilation, this moisture can accumulate and cause damage to your roof structure and insulation.

Finally, proper roof ventilation can extend the lifespan of your roofing system. Excessive heat and moisture can cause shingles to deteriorate prematurely, leading to costly repairs or even a complete roof replacement.

What Are the Signs of Poor Roof Ventilation?

There are several signs that your roof may be poorly ventilated, including:

  • Excessive heat in your attic space
  • Mold or mildew growth in your attic
  • Ice dams forming on your roof during winter
  • Shingles that are curling or deteriorating prematurely

If you notice any of these signs, it’s crucial to have your roof inspected by a professional to identify any ventilation issues and address them promptly.

How Can You Ensure Proper Roof Ventilation?

The best way to ensure your roof is properly ventilated is to have it inspected by a professional roofing contractor. A roofing expert can assess your current ventilation system and identify any issues that need to be addressed.

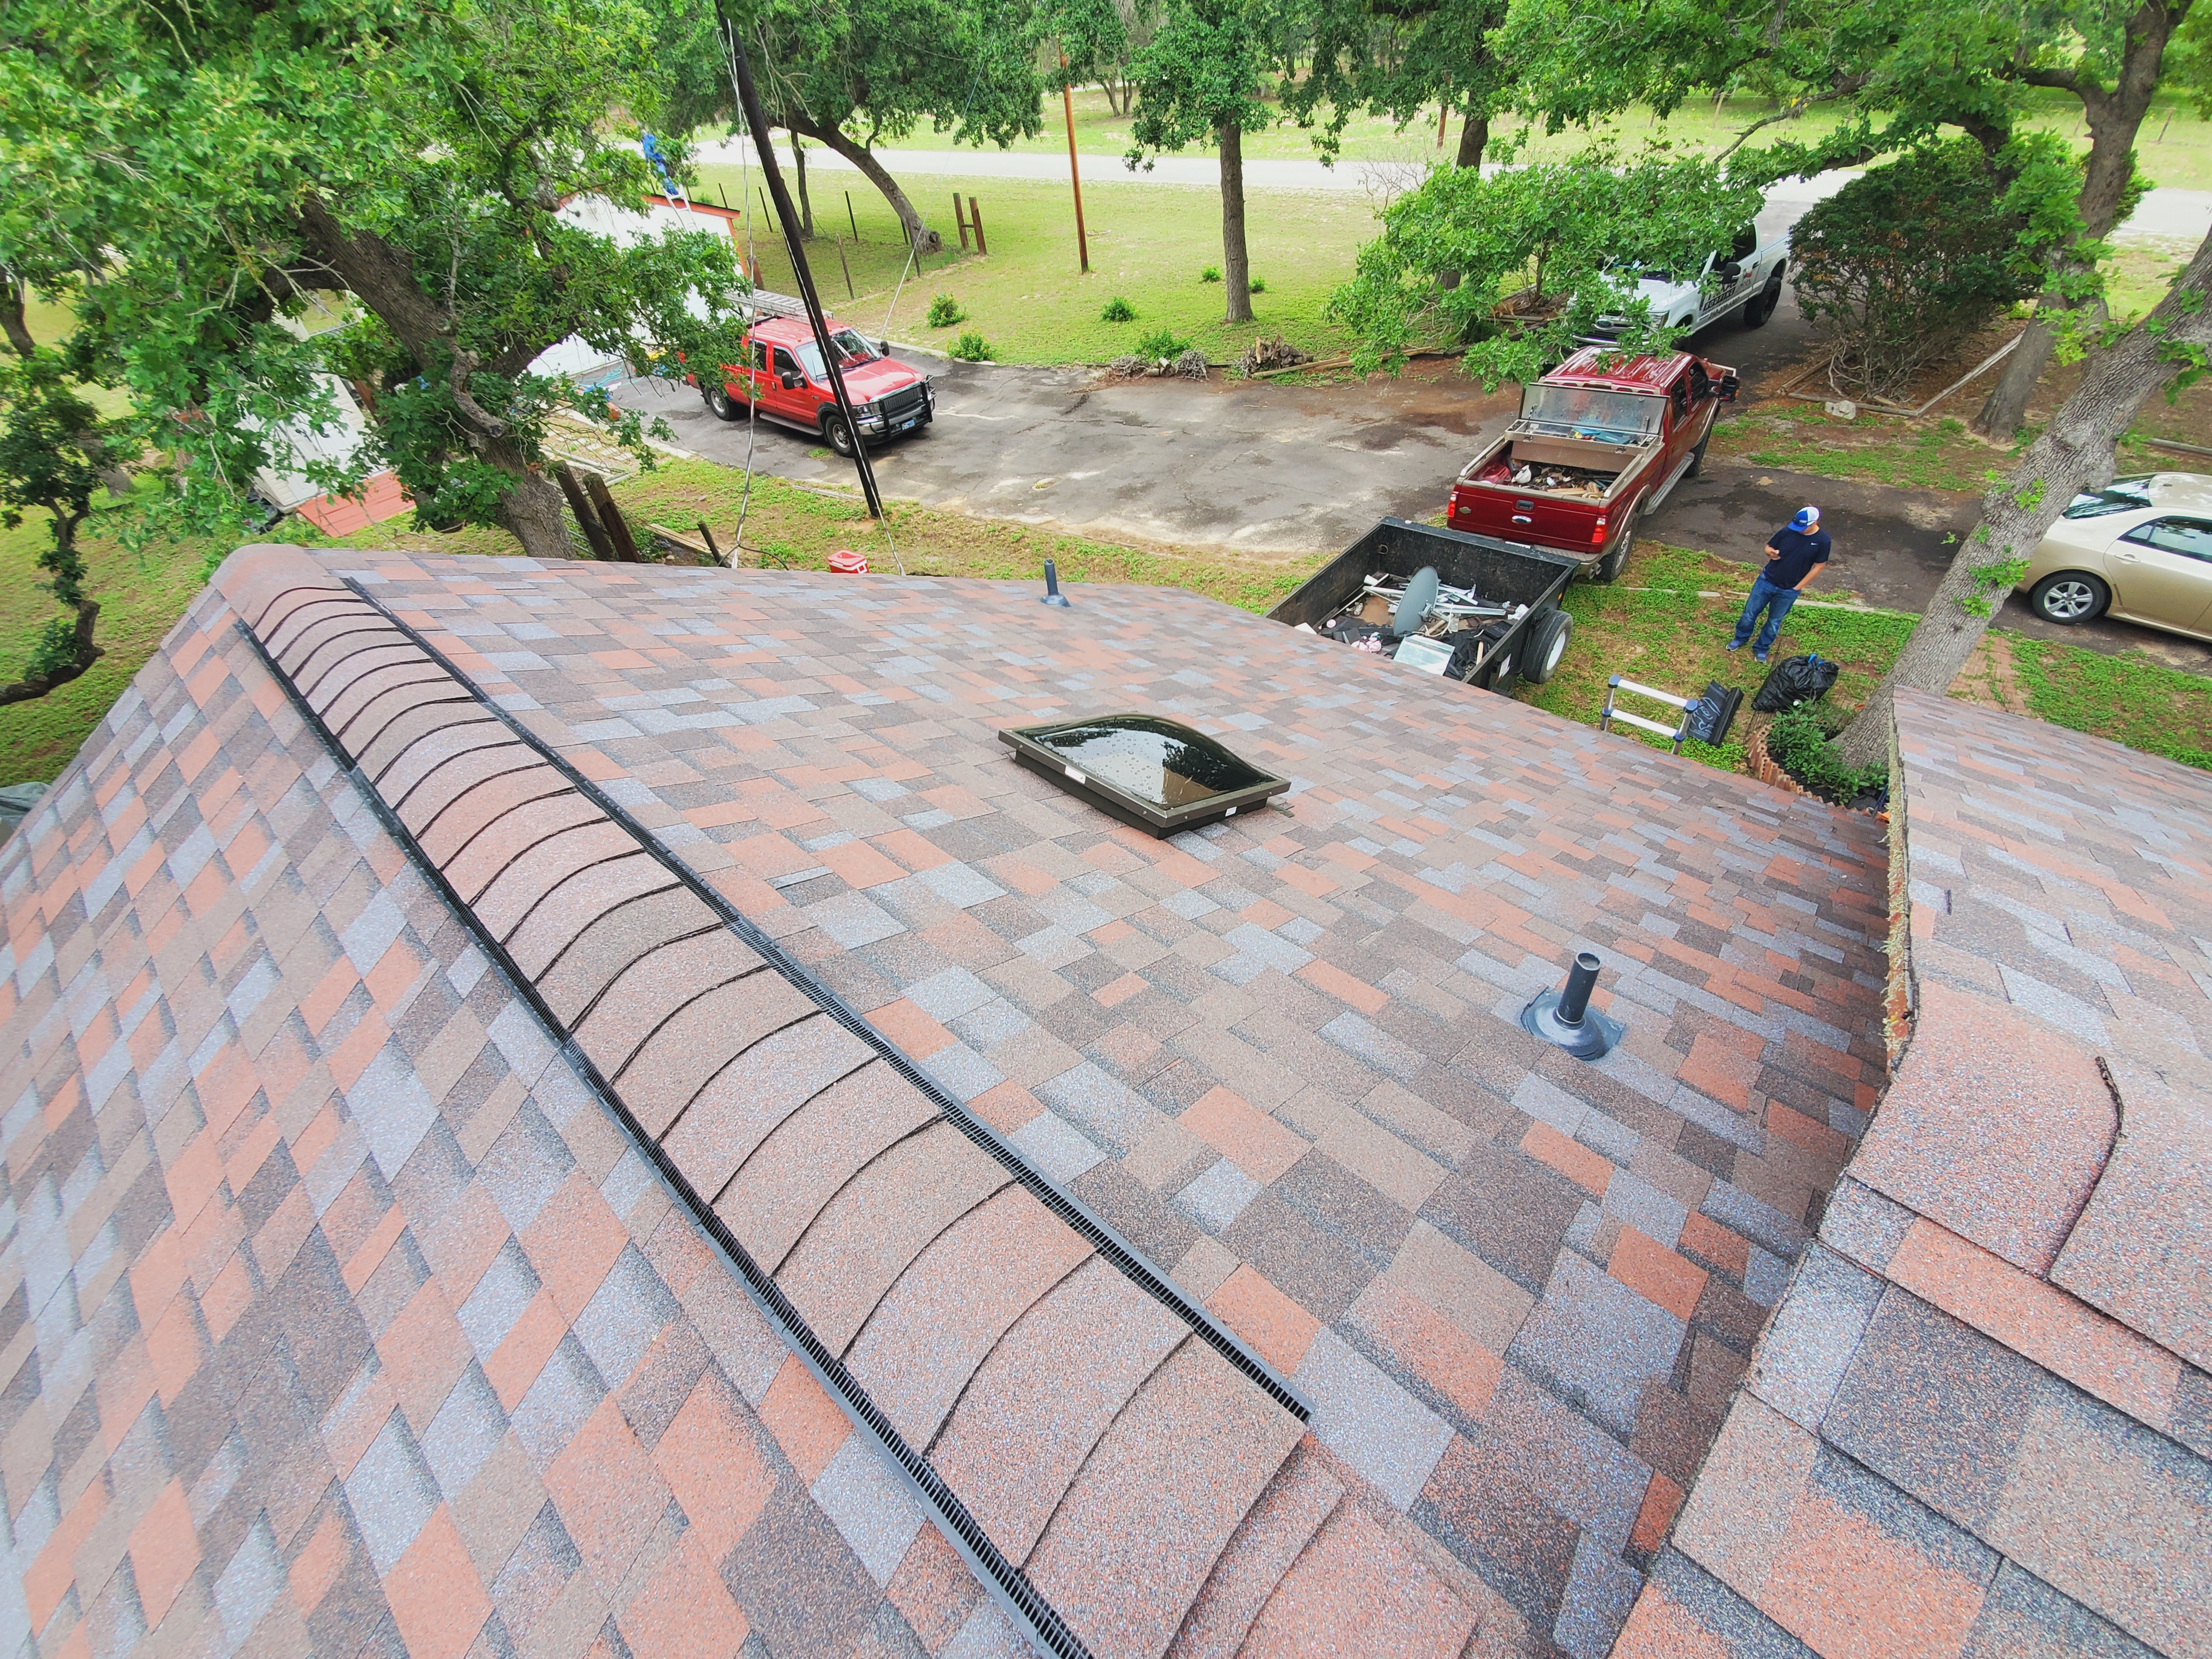
If your roof does require additional ventilation, a roofing contractor can recommend the best ventilation solution for your home’s unique needs. This may include installing additional vents or improving existing ones, depending on the type of roofing system you have and the climate in your area.

Texas Roofing

Proper roof ventilation is critical for the health of your roofing system and your home. At Texas Roofing, we specialize in roof inspections and ventilation solutions to help ensure your roof is functioning at its best. Contact us today to schedule your roof inspection and ensure your roof is properly ventilated.